Sterilizing surgical instruments in an autoclave. Back in the ‘war of northern aggression’ aka the first American civil war, they did not sterilize the surgical instruments between patients, most of the time they did not even wash them nor their hands in between patients. Back then the medical profession did not even know about the germ theory. Hence, many people died of infection. Also back then we did not have ANY type of antibiotics.
Today in a modern medical facility we have autoclaves that will fit on a table top and ‘industrial’ sized ones that you could walk into. The basic way that an autoclave works is by both raising the temperature to around 270 degrees F and the air pressure to around 15 PSI inside of a container which in turn kills all of the germs inside the instrument package. Typically you would maintain this for 10 to 45 minutes and then let it rest –just like cooking- to cool naturally to a temperature the was safe for you to handle. You can sterilize instruments individually or in ‘sets’ such as a suture set consisting of a needle driver or locking pliers, thumb forceps and scissors. The instruments would be wrapped in a double layer of cloth so that a ‘dirty’ person can hand the package to a ‘sterile’ person without contaminating either one of them.
Now that we have that basis of understanding we can discuss what to do in a ‘field’ situation when you have to do all that outside of a modern medical facility like in a disaster or SHTF situation.
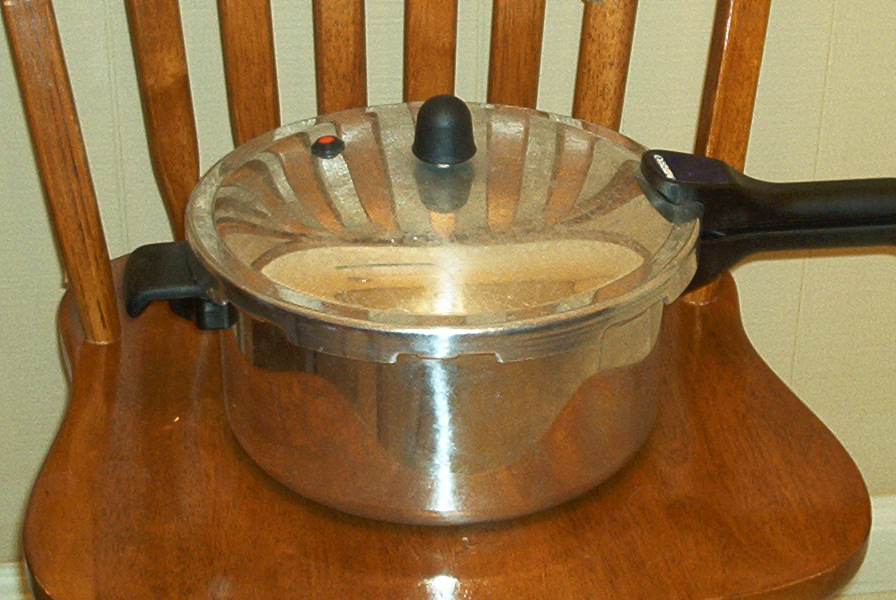
Mirro pressure cooker
In essence an autoclave is just a fancy [and high priced] pressure cooker or canner without the bells and whistles. Recently I was at several garage or rummage sales. At one of them –most likely an estate sale – I came across a colander for 50 cents and on another table there was a Mirromatic pressure cooker for $8.00 – it had ALL the spare / replacement parts to be able to maintain it for MANY years. And as you can see on the photo they were a perfect fit for each other!!! The colander in this case will suspend the instruments up out of the water and yet allow the steam and heat all the way around the package. 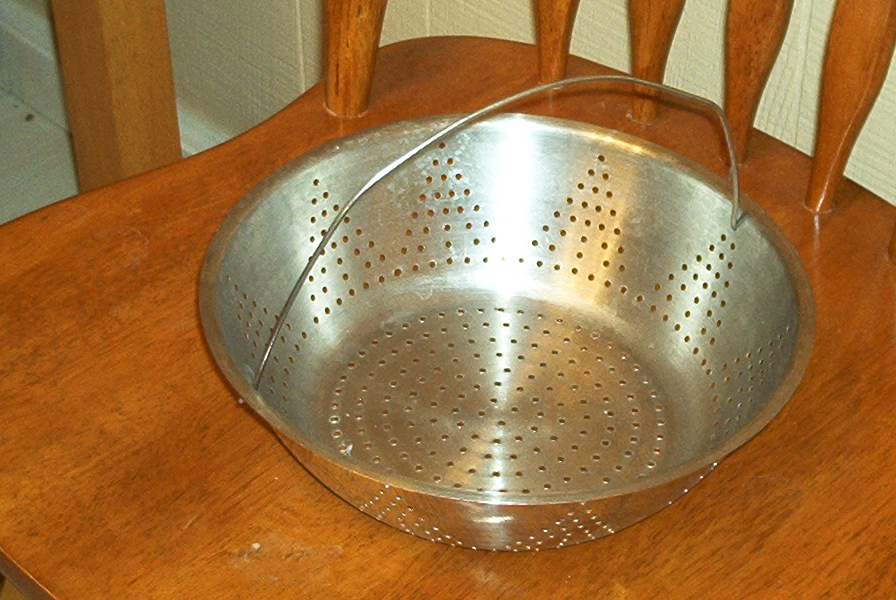
Now for the procedure. Step one wash your hands. :} that is ALWAYS the first step in any medical procedure. Then gather your supplies, in this case instruments you have already cleaned, cloth wraps -4 each, autoclave tape with is just masking tape that has strips of latex on it that turn brown when autoclaved – if you don’t have that, then just use plain masking tape and a magic marker to write on the tape the date and contents. Your home autoclave [pressure cooker and colander- if you don’t have one which will fit like my new one, then use 2 colanders which will fit inside the pressure cooker to keep the package out of the water]. Fill the pressure cooker about 2 inches deep with the cleanest water you have. Process the package.
For longer and safer storage of your sterilized instrument package once it has cooled down and is totally dry you can wrap it with plastic.
Let us pray that we never need to use this information in a real situation.
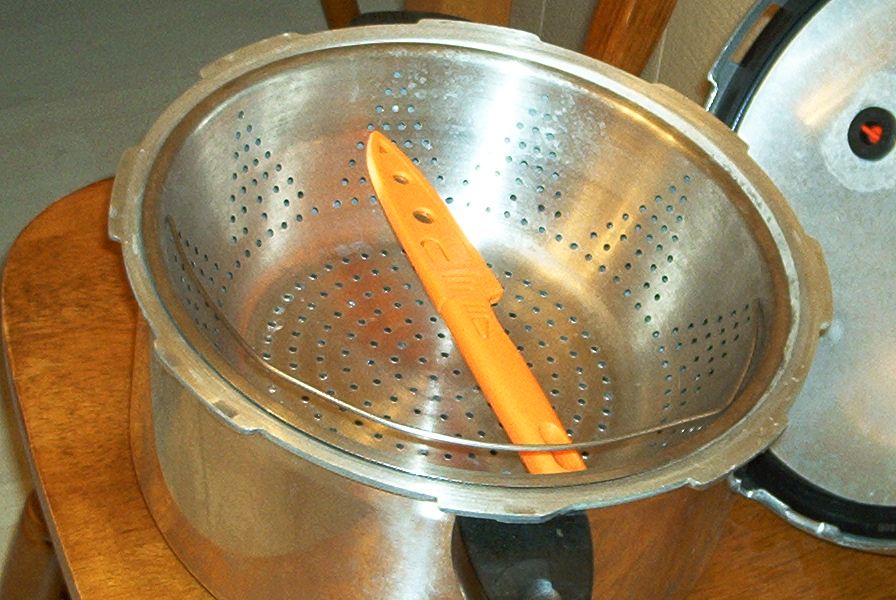
colander inserted into pressure cooker, almost as if they were made for each other.
Pingback: Illnesses part 2 | RBO'S MUSINGS at Prepare Survive Thrive